What to Expect During a Professional Window Tint Installation
October 31, 2026
Quick Answer: A professional tint installation follows a set order: the vehicle or windows are cleaned and inspected, film is cut and shaped to each piece of glass, heat is used to fit curved windows, the film is applied wet and squeegeed flat, and every window gets a final check before you leave. A typical vehicle takes a few hours. Afterward, a little haze or tiny water pockets are normal while the adhesive cures, and most of it clears on its own over the following days and weeks. Knowing the sequence ahead of time makes the appointment easy to plan around and makes it simple to spot a job done properly.
You have picked a film, set a time, and now the question that tends to show up the night before: what exactly is going to happen to my car, or my windows, and how long do I need to clear my schedule for? Maybe you are dropping a vehicle off before work and wondering whether you will be without it all day. Maybe you are tinting the glass at home and want to know how much furniture needs to move. Either way, the process is far more orderly than most people picture, and a clear picture of it takes the guesswork out of the day.
This guide walks through the appointment in the order it actually happens, so you know what each stage is for and what a careful installer is doing at every point.
Before Any Film Touches the Glass
The first stretch of a good installation has nothing to do with film. It is about the environment and the glass. Dust, pet hair, and airborne grit are the enemies of a clean install, because anything that lands between the film and the window gets sealed in permanently. That is why professional work happens in a controlled space, such as an enclosed bay for a vehicle or a cleared, wiped down area around the windows in a home or office.
Walkaround and Inspection
Your installer looks over the glass before starting. Existing chips, scratches, and cracks are noted, along with the condition of the rubber seals, defrost lines, and any hardware near the window edges. This protects you as much as it protects the shop, because it establishes what condition everything was in before work began.
Confirming the Plan
This is the moment to double check the film you chose and the windows that are getting it. If you have questions about shade, glare, or which windows are included, this is when to ask, before any film has been cut.
Cleaning and Preparing the Glass
Surface preparation is where an experienced installer separates themselves from a rushed one. Glass that looks clean to your eye still carries a thin layer of residue, and film adhesive will trap every speck of it.
Washing Both Sides
The glass is cleaned inside and out with soapy water and a squeegee. On vehicles, the area around the window frame gets cleaned too, so nothing drips or blows onto freshly wetted glass.
Scraping the Inside Surface
Many installers use a fresh razor blade on the interior of the glass to lift stubborn residue, such as old sticker adhesive on a newer car or baked on film from the dashboard side. This step can look alarming if you have never seen it, but it is routine and it is done on the glass, not on the film.
Protecting Your Interior
Towels or protective sheets go down over door panels, seats, and dashboards, because the install uses a lot of water. A good crew treats your interior like it belongs in their own car.
Cutting and Shaping the Film
Once the glass is ready, the film is cut from a large roll to the size of each window. Installers cut slightly oversized, then trim to fit. The edges matter: a clean, consistent gap along the border of the glass is one of the clearest signs of careful work.
Heat Shrinking Curved Glass
Most vehicle windows are curved, particularly rear windows, and flat film will not lie flat on a curve without help. The installer lays the film on the outside of the glass and uses a heat gun to shrink it until it matches the curvature exactly. This is a skilled step, since too little heat leaves ripples and too much can damage the film. You may see the film being molded and smoothed on the outside of the window before it ever goes on the inside.
Final Trimming
After shaping, the film is trimmed so it sits where it should relative to the edges of the glass. On a vehicle, that often means lowering the window slightly to finish the top edge. In a home or office, it means a precise fit to the frame.
Tip: If you are curious, ask to see the film cutting and heat shaping stage. A shop that is proud of its work will not mind, and watching it done gives you real context for why a proper job takes a few hours rather than a few minutes.
Applying the Film
With the glass cleaned and the film shaped, application happens fast, and it is wet. The inside of the window and the adhesive side of the film are sprayed with a slip solution, the liner is peeled away, and the film is floated into position. The slip solution lets the installer slide the film to the exact spot before it grabs.
Squeegeeing Out the Water
Working from the center outward, the installer pushes the water and air out from beneath the film with a hard card or squeegee. Edges are tucked carefully, and detail tools are used to get into tight corners and along the seals.
Handling the Tricky Spots
Rear windows with defrost lines, windows with a ceramic dot border, and large home windows all call for a slightly different technique. Defrost lines in particular need steady pressure so the film settles over them without lifting.
Drying and Sealing the Edges
A final pass with the squeegee and, in some cases, light heat helps push out remaining moisture and set the edges down.
Final Inspection Before You Leave
Before you are handed your keys or the crew packs up, every window should be inspected from both sides, in good light. A careful installer is looking for dust specks, edge gaps, creases, fingerprints, and any water pockets that need another pass while the adhesive is still workable.
What You Should Check Yourself
Look at the film from inside and outside, and from a couple of different angles. A very small number of tiny specks can occur on any install since dust is hard to eliminate completely, but obvious contamination, lifting edges, or creases are worth raising right then, while the installer is still there.
The Walkthrough
A good shop will take a moment to explain how the film should be treated for the next few days, what is normal as it dries, and who to call if something looks wrong.
Warning: Do not run your fingernail along the edge of fresh film, and do not press on any small water pockets to try to flatten them. The adhesive is still soft, and pushing on it can leave permanent creases or lift an edge that would have settled on its own.
Not Every Window in the Same House Wears at the Same Rate
Two windows installed with identical film on the same day can look meaningfully different five years later, and the reason almost always comes down to orientation and exposure. West-facing glass absorbs the harshest, most direct light of the day during the hottest hours, and it tends to show fading or performance loss first. South-facing windows run a close second, especially anything without an overhang, awning, or mature tree offering partial shade.
North-facing glass and windows tucked under a covered patio or deep eave see a fraction of the direct exposure and often perform noticeably longer than the same film would elsewhere on the same house. Skylights and other glass that faces almost straight up take some of the most punishing exposure of all, since there's rarely any structure blocking the sun overhead the way a wall does for vertical glass.
This unevenness is normal, and it's worth expecting rather than being surprised by. A homeowner who assumes every window will fail on the same schedule is often caught off guard when the west-facing kitchen window needs attention years before the shaded north bedroom window shows any change at all.
What Happens in the Days After
This is the part that surprises people most, because the film can look slightly imperfect for a while even when the installation was flawless. The water used during installation does not vanish instantly. It slowly evaporates through the film, and while it does, you may notice a few things.
Haze or a Cloudy Look
Light fogginess, especially in direct sun, is common in the first days and fades as moisture clears.
Tiny Water Pockets
Small bubbles or streaks that look like moisture are a normal part of curing. They are different from air bubbles trapped under the film, which stay the same and do not shrink.
Windows That Should Stay Up
The usual guidance for a vehicle is to leave the windows closed for around three days so the edges set without being disturbed by the seals. Full curing can take up to a few weeks, depending on the film type and the weather. Warm, sunny conditions speed it up, and cool, overcast stretches slow it down.
Cleaning
Hold off on washing the inside of the glass for the first several days, and when you do start, use a soft microfiber cloth and an ammonia free glass cleaner.
How Long the Appointment Takes
Time depends on what is being tinted. A typical vehicle takes a few hours, with the range shifting for larger vehicles, more windows, curved rear glass, or removing old film first. Homes and offices depend on the number and size of the windows, and the installer can usually give a clear estimate once they have seen the space.
If old film is coming off, plan for extra time, because removing aged adhesive cleanly is slow, careful work. It is far easier to schedule the removal and the new installation together than to discover the old film on the day.
Preparing So the Day Goes Smoothly
A little preparation on your end helps the crew do their best work.
For a Vehicle
Remove loose items from the cabin, especially anything near the dashboard, rear shelf, or door panels. Arrive with the car reasonably clean inside, since dust and pet hair stir up during the work.
For a Home or Office
Clear a few feet in front of each window, move away anything fragile, and take down blinds or curtains if they are hung close to the glass. Make sure there is access to the windows and a spot to work.
For Any Job
Plan to leave the film alone afterward. No stickers, suction mounts, or window decals on the fresh film until it has fully cured.
Frequently Asked Questions
Will the installer need me to be there the whole time?
For most vehicle appointments you can drop the car off and return when the installer says it is ready, though some customers prefer to wait. For a home or office, someone usually needs to be available to provide access and approve the finished windows.
Is it normal for the film to look cloudy right after installation?
Yes. Light haze, a slightly wavy look, or tiny water pockets are all common while the moisture used during installation evaporates. These effects usually clear over the following days and weeks, and sooner in warm, sunny weather.
Why does the installer use a heat gun on the film?
Heat makes the film shrink so it conforms to curved glass. Without it, film would sit in ripples or leave gaps on windows with curves, such as most rear windshields. It is a normal and necessary part of a quality install.
Can I wash my car after getting window tint?
You can wash the outside of the car normally. The inside of the glass is the part to leave alone for the first several days. After that, use a soft microfiber cloth and a cleaner that does not contain ammonia.
What if I spot a flaw when I pick up the vehicle?
Point it out right then. Dust specks, creases, or edge gaps are easiest to address while the installer is still there and the adhesive is workable. A reputable shop would rather fix it on the spot than have you discover it later.
Does the work change if the glass already has old tint on it?
Yes. The old film and its adhesive must come off first, and that takes more time than a fresh install. It is best to mention existing tint when you book so the appointment is planned correctly.
Knowing the Process Makes Install Day Easy
The most useful thing to bring to a tint appointment is an understanding of the order of events: clean the glass, shape the film, apply it wet, inspect it closely, then give it time to cure. Once that sequence is clear, the details stop feeling mysterious, and a careful job is easy to tell from a rushed one. Patience in the first few days matters as much as skill on install day, because the film is still settling into its final form.
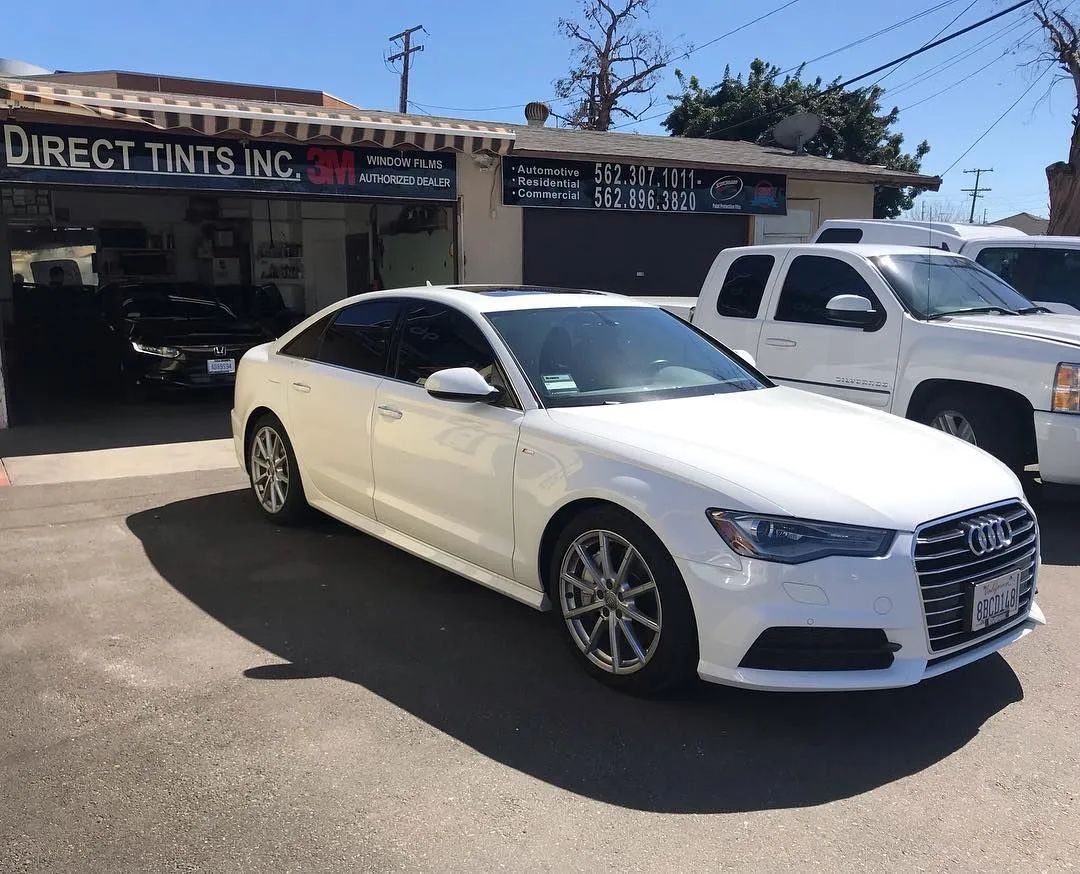
Direct Tints Inc
has installed window film in Downey, CA for 30
years, and each appointment follows the same careful order from glass preparation to the final walkthrough. Showing customers each stage and explaining how the film should be treated while it cures removes the guesswork from the day. With every window inspected before the vehicle leaves, owners drive away knowing the work was done properly and the film will settle into a clear, lasting finish.